We've all been there. After automating all the lights in your home, upgrading your thermostat and implementing smart plugs throughout the house, there's always that one device that needs to stay outside because it relies on an old-fashioned infrared remote control. MUO VIDEO OF THE DAY SCROLL TO CONTINUE CONTENT If that appeals to you, you'll be pleased to know that recent hardware and software releases finally allow you to add your IR device to the Apple Home app without having to buy a Homebridge need to use or Home Assistant server. Whether it's an electric fireplace, air conditioner or fan, we'll show you how.
Image Credit: SwitchBot
Since older IR devices don't have direct Home app integration, adding them to your smart home requires more than just a pairing code scan. While the process isn't too complicated, you'll need an extra piece of hardware and a third-party app to make the magic happen. To get started, you'll need a Home app-compatible hub, bridge, or gateway with IR capabilities. Available options include the SwitchBot Hub 2, the Aqara M2 Smart Hub, the Aqara Camera Hub G3, and the Nature Remo Nano. This guide covers the steps for the SwitchBot Hub 2 and the Aqara Camera Hub G3, which is similar to the M2 Smart Hub. Unfortunately, the Nature Remo Nano is exclusive to the Japanese market, so we cannot offer steps for that specific hub.
Next, you need to download and set up the hub you want through its vendor app, and then add it to the Home app. In some cases (like with the SwitchBot Hub 2) you'll need to enable Matter connectivity before adding it to Apple Home.
Finally, you need to make sure all your devices are up to date. This means downloading and installing the latest software version for iOS on your iPhone and Apple Home Hub and applying any firmware updates for your IR hub.
Before adding your IR devices through the SwitchBot Hub 2, there are a few things to keep in mind. First, SwitchBot's IR/Home app implementation doesn't work with learning features. You must choose your IR device from a list of suppliers and model templates. Second, the SwitchBot Hub 2 connects to the Apple Home app via Matter. If you haven't already done so, you'll need to add your Matter smart home service to Apple HomeKit before continuing. Finally, adding your IR device is two parts: adding your IR device to the SwitchBot app and exposing it to Matter/Apple Home.
Once complete, your IR device will appear as a tile in the Home app, as will all of your HomeKit and Matter accessories. Just tap it to enable or disable your IR action or add it to Scenes, Automations or Groups from the Home app.
Adding an IR device from an Aqara Camera Hub G3 to Apple Home consists of three main parts: adding the device, creating a scene and making the scene available to Apple Home . Devices added through Aqara appear just like scenes you create in the Apple Home app.
After a few moments, your Aqara scene will now be available in the Apple Home app. Due to limitations with IR devices, this method will only show your scene in the Scenes area on the Home tab in the Apple Home app. Simply tap it to enable or disable the action on your IR device.
Now, with just a tap in the Home app or a shout to Siri, you can finally bring your older IR devices to life without fumbling with a remote. It's a quick and easy process that makes more devices smarter.
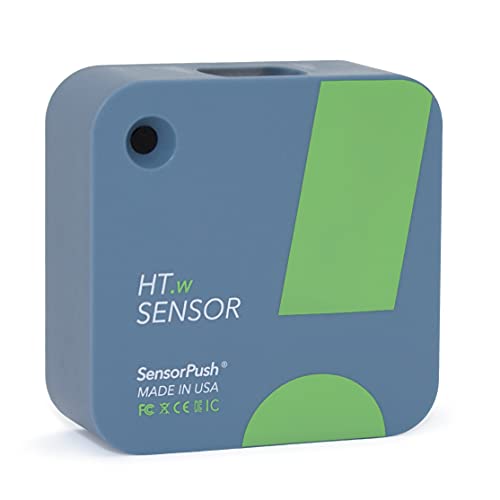 SensorPush HT.w Wireless Thermometer/Hygrometer Water-Resistant for iPhone/Android. USA Made Indoor/Outdoor Humidity/Temperature/Dewpoint/VPD Monitor/Logger. Smart Sensor with Alerts
$69.99
HomeKit.Blog is in no way affiliated with or endorsed by Apple Inc. or Apple related subsidiaries.
All images, videos and logos are the copyright of the respective rights holders, and this website does not claim ownership or copyright of the aforementioned.
All information about products mentioned on this site has been collected in good faith. However, the information relating to them, may not be 100% accurate, as we only rely on the information we are able to gather from the companies themselves or the resellers who stock these products, and therefore cannot be held responsible for any inaccuracies arising from the aforementioned sources, or any subsequent changes that are made that we have not been made aware of.
HomeKit.Blog Is A Participant In The Amazon Services LLC Associates Program, An Affiliate Advertising Program Designed To Provide A Means For Sites To Earn Advertising Fees By Advertising And Linking To Amazon Store (Amazon.com, Or Endless.com, MYHABIT.com, SmallParts.com, Or AmazonWireless.com).
The opinions expressed on this website by our contributors do not necessarily represent the views of the website owners.