When I was in my early 20s, I worked for an independent telephone company in Ringgold, GA. One of the projects I worked on was the construction of a security product for homes and businesses. I ended up working with customers in a sales role after I got the product. I say all of this to make that point that I'm somewhat of a veteran in the home security industry. We've sold hundreds of thousands of dollars worth of Honeywell alarm systems. I know what systems can be easily monitored by other companies. I also know the advantages of wired and wireless systems. In my current home, the builder had a DSC system installed by a local alarm company that I have been using since moving in 2013. Over the years, I have upgraded my home to include many aspects of the smart home. However, the security system was not reached until I read about the HomeKit integration hosting system. Is it the best home security system for Apple users? Let's take a look at the Ioda alarm system.
One of the main differences between different DIY alarm systems compared to traditional systems is where devices are mounted and how they communicate. With my existing alarm system, there are wiring door triggers back to a central panel in my closet. The keyboard and motion sensor are also wired. 110V supplies everything and has a spare battery. The only method of communication is a traditional telephone line (which I still have for 911 purposes for my children).
With DIY systems, it's almost always a kind of wireless technology between sensors and the base station. Most DIY alarms work on your internet connection and often include a SIM card for mobile backup.
iota remains in the magazine
Over the years I have monitored different alarm systems, such as Nest Secure (I have Nest thermostats) and SimpliSafe, but I have not found one that would make me want to redo my entire configuration. Once I read that the home has added HomeKit support to their iota starter kit, I start to look very closely.
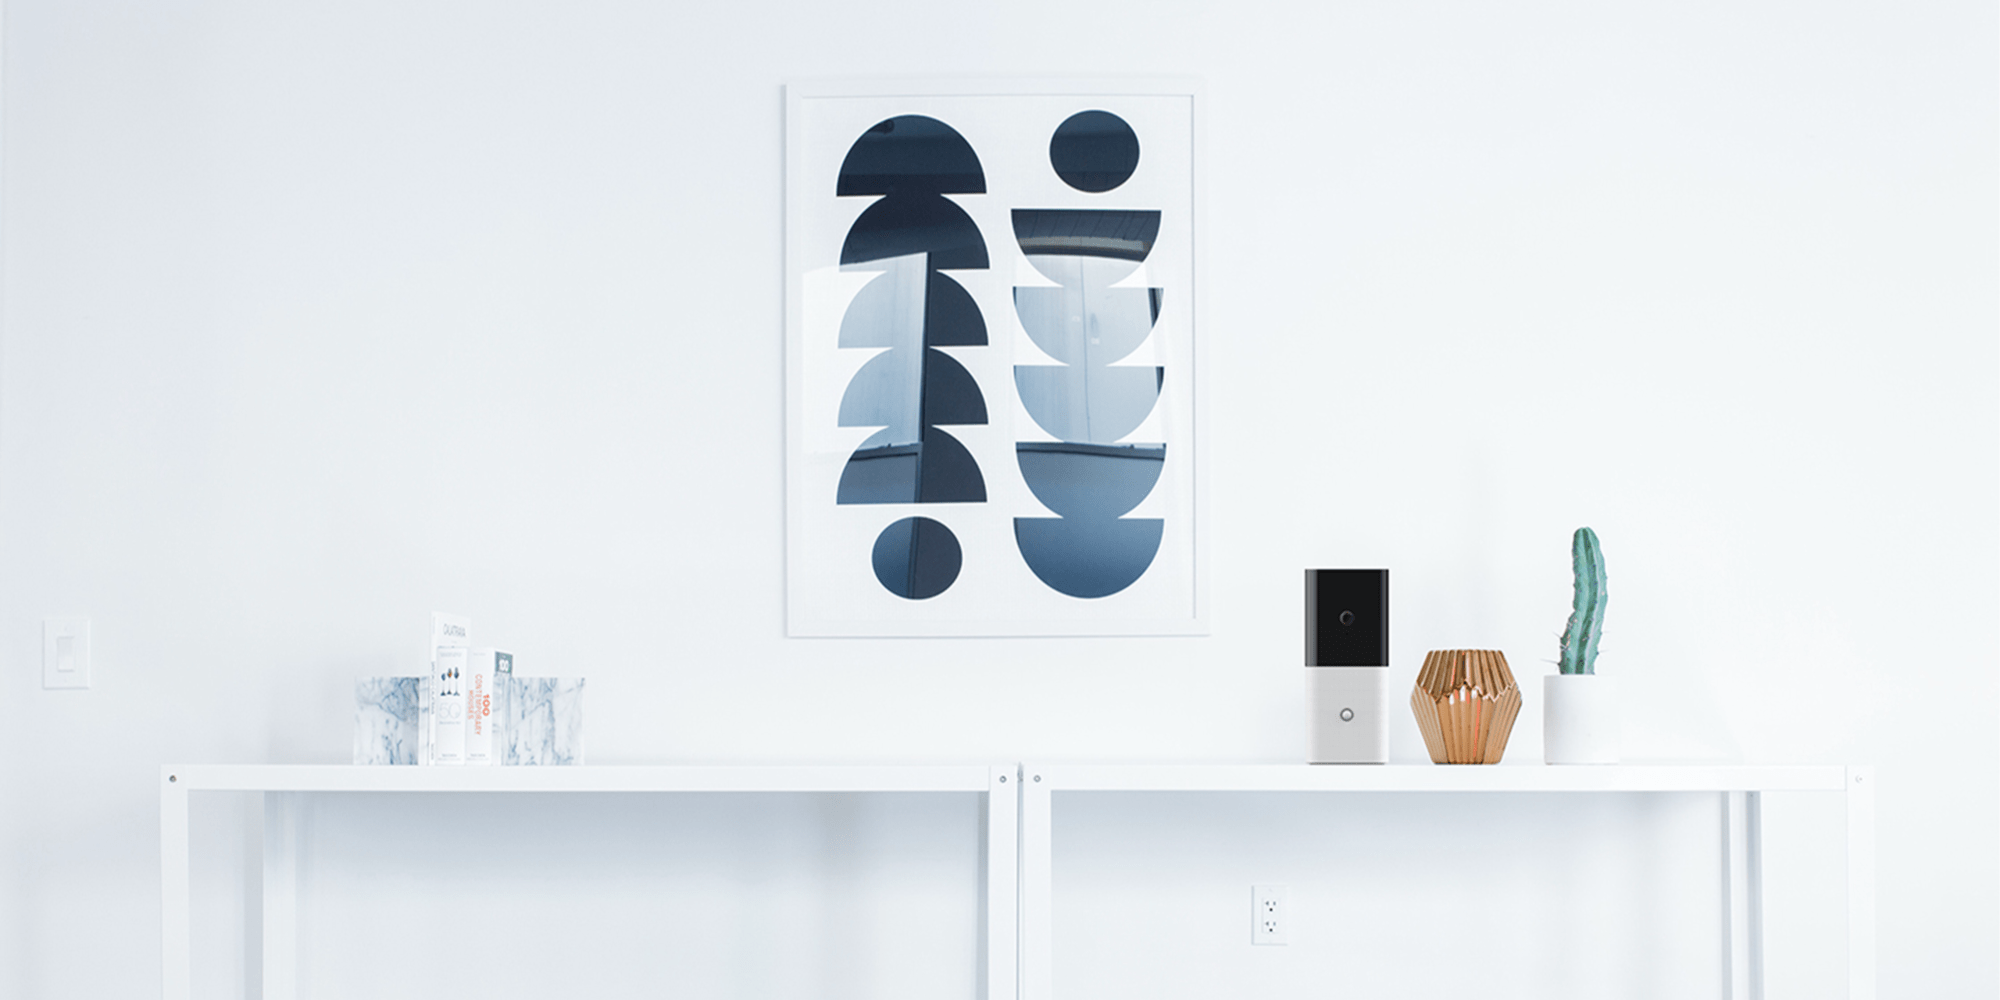
I recently bought a lock in August, so the possibility to automatically disable the alarm when I unlocked the door was very interesting. After a few days of research, I made my purchase. I chose the iota starter kit for abodes, added a dedicated keyboard, two smoke monitors, three thin door sensors and an additional motion detector. The iota starter kit includes a base station, a regular door sensor and a key switch. The base station consists of a built-in 1080p camera (works with HomeKit) and a built-in motion sensor. The base station runs on Wi-Fi (requires Ethernet for initial setup), has a cell backup option, and includes a built-in battery in case the power goes down. The additional motion sensor will replace the one in the living room and I will install the keyboard instead of the existing one.
live keyboard
The keyboard is quite unique in that it connects to the wall plate with magnets. This feature facilitates mounting and removal. Includes a built-in battery and must be charged via micro USB every six months. I use the keyboard a lot less than I originally thought, because in general, I rely on the abode application to arm and disarm the system, but it was for sale and I should have spent the wall differently. The app allows you to configure your password, add new ones and delete unused ones.
living door sensors
One aspect of DIY alarm systems that I don't like is how big the door sensors are. There are generally white bricks that are mounted near the top of the door. The technology is relatively simple in them. One part of the door sensor is a magnet and the other is the transmitter itself. When the door is opened, the "seal" is broken and this sends an alarm signal.

Abode has three different types of door / window sensors. They have a standard model, a mini model and a thin model. The slim model immediately caught my attention because it fits with a door lock and stays hidden. Standard and mini models are powered by replaceable batteries. The normal ones will last ten years, and the mini will last four years. The slim model will last eight years, but cannot be replaced. They also have a recessed model, but you will want to go this route only if you find it comfortable in the door. I managed to test the mini and the slim model and both could be installed in a few minutes, without any tools. You can see the slim pattern in the photo above.
monitors smoke
When I ordered the smoke monitors, I assumed they were real smoke detectors, but they aren't. They are intended to be mounted next to existing smoke detectors that are connected to your home. Monitors detect the sound that smoke detects and then trigger the alarm. Although I didn't know all this when I ordered, it's a pretty smart way to reduce sensors and lower costs while getting the result. However, smoke monitors are not compatible with HomeKit.
accommodation room with HomeKit integration
The Iota base station includes a built-in 1080p camera (can be turned off in settings) that can be programmed to start taking video when the alarm is triggered. It can also be added to the Apple Home app, where you can create various automations around it. Overall, it works well. We aimed it at our front door, acting as a second motion sensor. My only complaint is that it doesn't support HomeKit Secure Video, but not many providers still do.
Monthly plans

As with any alarm system, there are different ways of "monitoring" the system. With the accommodation unit, you have three options that fit any budget. The free plan allows you to monitor the alarm remotely using your home internet connection. It includes three days of media storage and access to create automation.
The Connect plan ($ 80 / year) offers all the things included in the free plan, but also activates the LTE connection as a backup. It also increases media storage up to 14 days.
The Secure plan increases media storage to 90 days, but also activates 24/7 professional monitoring, along with an unlimited warranty on your devices, if you pay annually.
I went with a Secure plan because it includes 24/7 monitoring, because I wanted someone to call the police / fire department if the alarm goes off and they are not available. When I signed up, I got my first year for $ 100, with a starter kit purchase, but only up to $ 200. Also, I save 15% of my homeowners insurance, so it costs even less.
the installation process
In general, the installation was direct. After you disconnect the base station, connect it to the ethernet and power, and then open the home application. Type the gateway code and it starts the setup process. Once I set it up, I was able to connect it to Wi-Fi so I could put it in a better location. Activation of the sensors at the door only took a few seconds, and then I spent another minute or more to mount them. The smoke sensors lasted about three minutes each, but this was mainly due to the fact that I had to find a step stool to screw them into the ceiling.
Mounting the keyboard and the second motion sensor was also an absolute must. I think I spent half an hour installing and configuring everything. The main issue I faced was that I initially connected the base station to a surge protector that is on a HomeKit connector and it was turned off. It took me five good minutes to figure out what's going on. Once it was set up, I was able to invite my wife to join our house so that she could manage and operate it.
shelter HomeKit Integration

As I mentioned in my first paragraph, HomeKit integration is one of the things that led me to pull the trigger on the Iota starter kit. With HomeKit integration, I'm also using my existing configuration to work with Abode. All settings for HomeKit are made in the Abode application. It generates a HomeKit code, then manually adds it to the application. In my system, motion sensors, camera and doors are compatible with HomeKit.
One of the HomeKit features I use today is when the motion sensor sees movement between 5:00 and 7:00 AM, it triggers the lamp in our kitchen that is connected via a Wemo smart mini plug. I wake up around 5:00, so I want this light while I make my morning coffee.
Another integration of HomeKit is that the automatic alarm is activated when it no longer detects movements after 22:00, as we are probably in bed. I'm using an automation in the Abode app for iPhone and this will automatically trigger the alarm if my wife and I are both away from home. I could have done this in the Home application, but I also wanted to test the automations in the home application. If you are a heavy IFTTT user, it also supports the platform.
Subscribe to the review for Iota
Overall, I'm quite pleased with the purchase of the iota security system (I didn't ask for a review unit, I paid for it). It replaces an old system, so I'm happy I can remotely monitor and manage it. Using the built-in video recording camera when the alarm sounds, I can check at home if something happens. Because the plan I use includes LTE support, I don't have to worry about someone cutting my phone line and disabling communication with the monitoring station.
HomeKit integration makes it a natural choice for people in the Apple ecosystem. If you want to use Nest Secure, you can check my review of Starling Home Hub, but otherwise I would recommend staying there.
The only hint I had was that on the first night, HomeKit integration was blocked. A quick restart of the base station solved it immediately. In my opinion, abita iota is the best DIY alarm system for Apple users, due to its HomeKit integration, excellent looking hardware and easy installation. I plan to add to the living room room when it is launched.
You can purchase starter kits directly from your home or from Amazon. If you intend to enable monitoring, I would highly recommend buying directly from the accommodation, as they offer a discount when you combine them.
FTC: We use car affiliate links to earn revenue. More.

Check out 9to5Mac on YouTube for more Apple news:
(Embed) https://www.youtube.com/watch?v=gQeXCbtStfA (/ embed)


