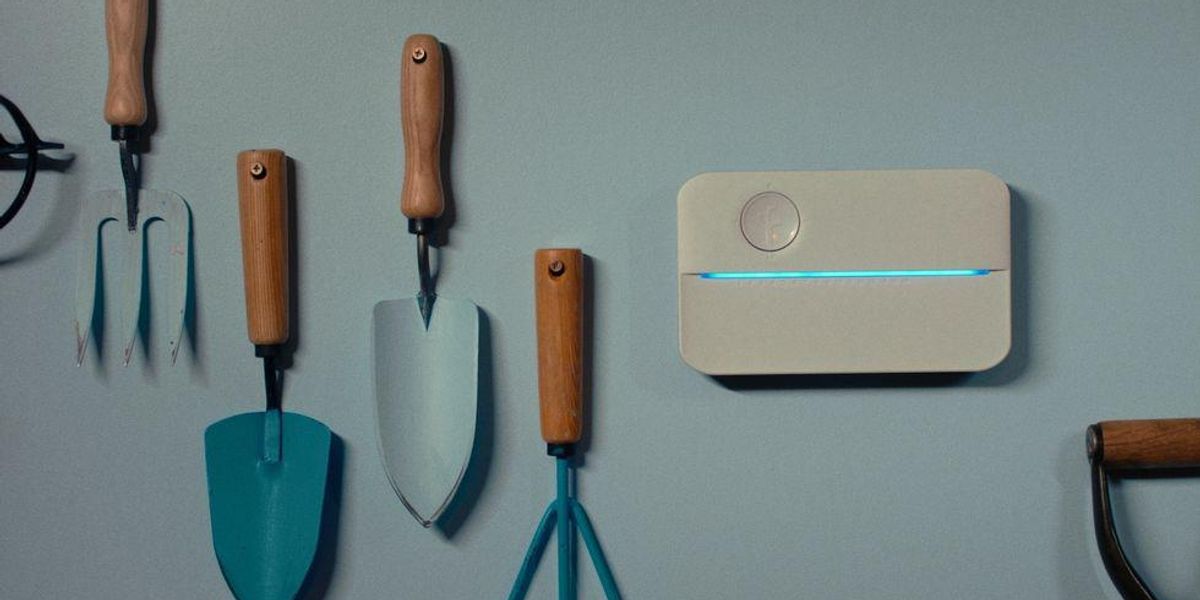
When you move into a new home, some smart devices mounted in the garden and outside the property may be left behind. We are talking about wall-mounted security cameras, custom lighting installed above the terrace and water irrigation systems adapted to the exact look of your garden.
We focus on the latter and, in particular, on Rachio's intelligent irrigation systems. The company has offered three generations of irrigation controllers over the years and they are all easy to reset when you sell your property.
Read more:
As with any smart device you choose to leave behind when you move house, it is important to make sure that the irrigation system is reset correctly and left in an equally new condition for the new owner. This way, I can set up Rachio as if I had just bought it, and your Rachio account is free to connect to a new irrigation system at your next home.
There are two ways to reset a Rachio controller. One is through the smartphone app, and the other is through the use of buttons on the controller. Rachio recommends the latter if you have problems with Wi-Fi and states that the first-generation controller can only be reset via the application. The company also says that while resetting the buttons should eliminate any Wi-Fi issues, it will still need to remove the controller from the Rachio app before the new owner can use it.
In this case, the reset in the app should work for most homeowners. But if Rachio shows some connection and Wi-Fi issues, it's best to reset the button, then reset the app to make sure the device is factory and connectivity errors have been removed.
Rachio 3 can water 16 different areas of your garden.
Rachio
It should be noted that resetting Rachio cannot be undone. And by doing so, delete all data in the controller, including zone settings, schedules, water usage, and watering history. So while your home buyer is likely to benefit from a pre-programmed irrigation system, you will need to prepare it again. But at least the hardware will be in place and ready to boot.
To begin resetting through the Rachio app, follow these instructions:
If you decide to reset the controller using its buttons instead, follow these instructions:
For Rachio 2 owners:
For Rachio 3 owners:
As I said earlier, if you reset the controller using its buttons, you still need to access the Rachio application and remove it from your account. This way, the new owner can configure it and add it to their own Rachio profile.
Finally, if you move to a property that has a Rachio system left behind for sale and has not been reset according to the instructions above, you will need to contact the seller. Then I can perform a remote app reset, while you can also perform a physical reset, before downloading the app for you and registering your device as yours.
Check out GearBrain, our smart home compatibility search engine, to see the other compatible products that Rachio works with, including Google Assistant and Amazon Alexa compatible devices.
How to find products in GearBrain, our smart device compatibility search engine
www.youtube.com
 Lutron Caseta Smart Lighting Dimmer Switch and Remote Kit | P-PKG1W-WH | White
Original price was: $69.99.$53.99Current price is: $53.99.
 LIFX color, A19 1100 lumens, Wi-Fi Smart LED Light Bulb, Billions of colors and Whites, No Bridge Required, Compatible with Alexa, Hey Google, HomeKit and Siri, Multicolor
$37.99
 eufy Security, eufyCam 2C Pro Wireless Home Security Add-on Camera, 2K Resolution, 180-Day Battery Life, HomeKit Compatibility, IP67 Weatherproof, Night Vision, and No Monthly Fee.
$149.99
HomeKit.Blog is in no way affiliated with or endorsed by Apple Inc. or Apple related subsidiaries.
All images, videos and logos are the copyright of the respective rights holders, and this website does not claim ownership or copyright of the aforementioned.
All information about products mentioned on this site has been collected in good faith. However, the information relating to them, may not be 100% accurate, as we only rely on the information we are able to gather from the companies themselves or the resellers who stock these products, and therefore cannot be held responsible for any inaccuracies arising from the aforementioned sources, or any subsequent changes that are made that we have not been made aware of.
HomeKit.Blog Is A Participant In The Amazon Services LLC Associates Program, An Affiliate Advertising Program Designed To Provide A Means For Sites To Earn Advertising Fees By Advertising And Linking To Amazon Store (Amazon.com, Or Endless.com, MYHABIT.com, SmallParts.com, Or AmazonWireless.com).
The opinions expressed on this website by our contributors do not necessarily represent the views of the website owners.

