HomeKit’s ecosystem is fantastic, but the directly compatible devices can get expensive. $25 for a smart plug, $40 for a door sensor – it really adds up quickly. There are plenty of cheaper smart home devices available on Amazon, from $6 smart plugs to $25 cameras, outside the HomeKit ecosystem. Thankfully, many of these otherwise unsupported devices can be brought into HomeKit with the use of Homebridge software.
What is Homebridge?
Homebridge is a piece of software that connects to an unsupported smart-home device in order to make it accessible through Apple HomeKit. There are thousands of smart home devices otherwise limited to Amazon Alexa or Google Assistant support that become accessible through Apple’s Home app with the use of Homebridge.
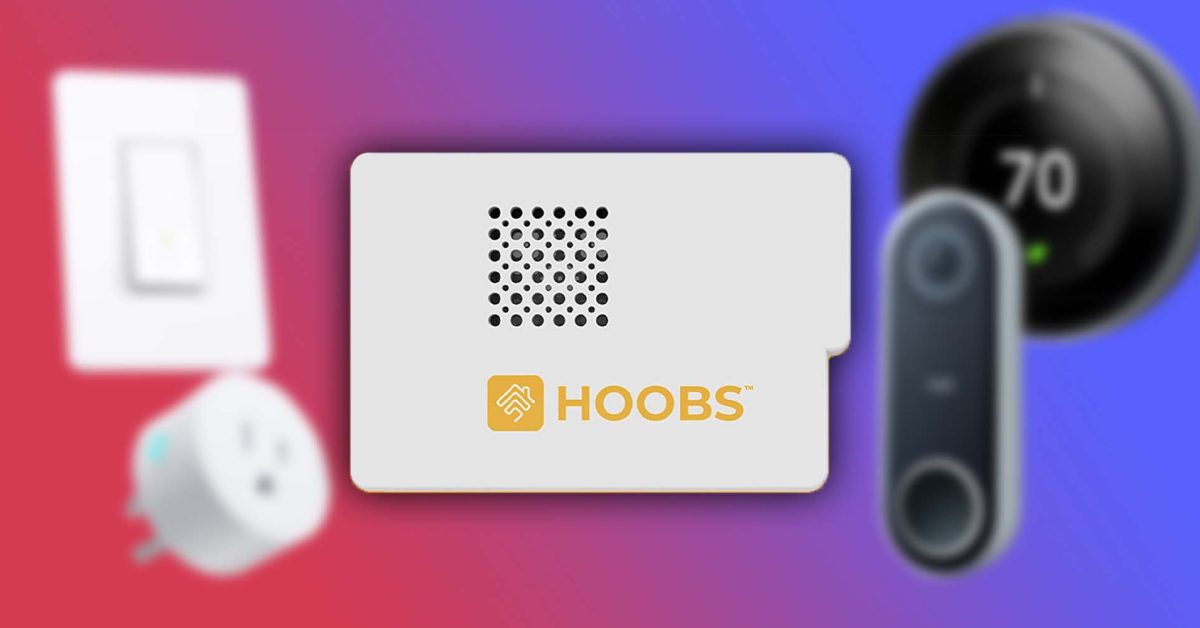
Homebridge can be run on Windows, Linux, macOS, or a Docker container, but I prefer to run it on a low-cost Raspberry Pi. I personally use HOOBS, which is an easy-to-use version of Homebridge with a nice web interface. HOOBS can be downloaded for free and installed on your own Raspberry Pi, or you can purchase an all-in-one box kit with it ready to go.
- Raspberry Pi 4 kit: $149
- HOOBS all-in-one: $219
Installing Homebridge on a Raspberry Pi
If you opt to install Homebridge/HOOBS yourself, it is actually very straightforward. Start by downloading the image. It’s free, but you can opt to donate a custom amount to support the software if you like. Be aware that you’ll have to put in payment details to download even if you’re not donating.
Once the “hoobs-##.img” file is downloaded, you can use a program like balenaEtcher to flash the operating system to an empty micro-SD card. It is important that this SD card is empty, as flashing the image to it will entirely erase the card and any files left on it. The SD card can then be inserted into the Raspberry Pi.
The Raspberry Pi should be powered with a USB-C cable and connected to your home internet with an ethernet cable. You can set up HOOBS over Wi-Fi, but directly wiring it will provide more reliable results.
To connect to the HOOBS device, open your web browser and go to http://hoobs.local if you are on a Mac or http://hoobs on a PC. On your first visit, you will be asked to set up an account, then you will be greeted with the interface. This is the web interface you will use to connect new smart home devices and add additional plugins.
Home Hub vs. Homebridge
The Raspberry Pi only serves as an interface between the non-HomeKit device on your network and an Apple device on your network. It will not function as a Home Hub, which is necessary to control smart home devices through the Home app away from the local network. This means that you will need one Apple device at your house powered on in order to control your home devices when you are not on your local network.
Setting up an Apple device as a Home Hub
As Apple describes, you can use a HomePod, HomePod mini, Apple TV, or iPad as your Home Hub device. A HomePod or Apple TV signed in with the same iCloud account as your Home will automatically become a Home Hub. To set up an iPad as a Home Hub, the iPad must be signed in to the same iCloud account that was used to set up your HomeKit devices. Then go to Settings > Home > Enable and choose Use this iPad as a Home Hub.
- Apple iPad 10.2-inch: $329
- iPad stand: $18
- HomePod mini: $99
- Apple TV 4K: $169
Adding smart home devices to Homebridge

Adding a Kasa smart light switch to HomeKit
I personally love smart light switches. They easily integrate with existing fixtures, and you don’t have to treat them like a smart device. You can still hit the switch like you would any other light; they just add the option of smart control. Kasa has multiple different options for these smart switches.
- Kasa dimmer switch, three-pack: $44
- Kasa light switch, three-pack: $39
- Kasa three-way switch, two-pack: $26
First configure the switches in the Kasa Smart app on your phone. To connect with these switches (or other Kasa plugs or bulbs) to HOOBS it’s as simple as installing the Tplink Smarthome plugin. It automatically discovers the Kasa devices on the network to make them available through Apple’s Home app. Once your devices are added to HOOBS you’ll just have to link the bridge to Homekit as described below.
Adding a Nest thermostat and doorbell to HomeKit
By far my favorite devices to access through HomeKit are my Nest doorbell and thermostat. They have worked flawlessly in the Home app with live camera view, two-way speaking, and temperature control.
- Google Nest Learning Thermostat: $199
- Google Nest wired doorbell: $149
Start by setting up your Nest smart home devices in the Nest app, then head over to HOOBS and install the Nest plugin. On the configuration page, select link account. A new popup will open, so check that your browser didn’t block it. Log in to your Google account – the same one used in the Nest app – then copy the provided code and paste it in the next step. Just like that, your Nest devices are connected to HOOBS.

Adding cameras to HomeKit
Adding Blink cameras
Blink cameras are a very low-cost way to add cameras to your smart home. Blink offers a paid subscription for cloud storage of video, but you can also use the Blink sync module to store the clips locally on a USB drive without paying for cloud storage. The Homebridge integration with the cameras is still a work in progress, but the current version offers camera thumbnails, temperature readings, occupancy sensors, alerts, and the ability to arm/disarm the security system. The biggest limitation is the live view, which is currently only working for first-generation cameras.
- Blink camera mini: $25
- Blink outdoor and floodlight: $99
- Blink sync module 2: $34
After getting your Blink cameras set up in the Blink app, install the Blink For Home HOOBS plugin. Enter the configuration and input your login credentials. On the first run, you will get a text message with the two-factor authentication code. Plug that code into the PIN requested in configuration, and you should be good to go.
Adding Wyze cameras
As I mentioned above, the Blink cameras still need a bit of improvement before they can provide a flawless experience. If you want a more full-featured experience and are willing to put in the time, Wyze cameras are a good option. Just be aware that setting them up takes a lot more work, including modified firmware. With the modified firmware, you can add them to HOOBS as you would a standard IP camera.
Adding existing IP cameras to Homekit
It’s easy to add a standard IP camera to HomeKit using HOOBS. Start by installing the Camera FFmpeg plugin. From there, you can add a camera under the configuration column. You will need the RTSP URL as well as a still-image URL. While adding the URL is all you have to do, you can adjust more specific options, such as the resolution, bitrate, frame rate, encoding method, and add multiple cameras.
Adding unsupported smart outlets to HomeKit
The Tuya and Smart Life apps are supported by almost all of the low-cost smart outlets and myriad other devices available on Amazon. Thankfully, the Tuya Web plugin can also bring all of these accessories into HOOBS and HomeKit. Beyond general smart outlets, you can also bring fans, dimmers, blinds, thermostats, and more devices into HomeKit.
- Single smart plug four-pack: $26
- Energy monitoring smart plug two-pack: $22
- Outdoor-rated dual-smart plug: $16
Start by adding all your smart outlets and other Tuya-compatible devices to the Smart Life app. Then, add the Tuya Web plugin to HOOBS and enter the configuration page. Enter your country code (1 for the US), select your platform (Smart Life), and enter your log-in credentials. It’s as simple as that!
Bringing bridged devices into the Home app
Bringing smart home devices from HOOBS to Apple’s Home app is simple.
Open the HOOBS web interface and go to the Bridges tab. From there, select the desired bridge. Open the Home app, select +, and choose Add Accessory. Scan the QR code provided by HOOBS to bring the accessories on that bridge into HomeKit.
After scanning, you will have the opportunity to name your smart home devices, choose an icon, and select which room they belong in.
Using other voice assistants to control Homebridge devices

While the main purpose of Homebridge is to bring all your devices into HomeKit, it also unifies all your smart-home devices. This is where Amazon Alexa and Google Assistant support really show their value. You can bring all your smart home devices together with Homebridge, then use whichever smart speaker you have to control them. Why spend $100 on a new Apple HomePod mini for every room if you already have an extra Echo Dot lying around?
Adding Alexa support to Homebridge
The Alexa plugin allows you to control any Homebridge-controlled devices with any of your Amazon Alexa devices – even the Astro household robot. After installing the Alexa plugin, you’ll need to set up an account for the skill.
Enter your login credentials in the HOOBS Alexa plugin configuration page. Then, install the Homebridge Alexa skill in the Amazon Alexa app and link the skill to your account.
Adding Google Assistant support to Homebridge
Google Assistant support has been particularly useful for me as I now use a Pixel 6 Pro. While most devices around the house have integration support with Google assistant through their respective apps, using HomeBridge makes adding all the devices from different apps at once extremely simple.
The plugin to connect to your Google account is Gsh. Install the plugin, then go to the configuration page. From that page, select Link Account and sign in to your Google account. From the Google Home app on your Android or iOS device, select Plus in the upper left corner > Set up device > Works with Google > and add the Homebridge service. From there, log in with the same Google account.
The Homebridge-connected devices will show up under Linked to you. You can then move each device to the desired home and room within the Google Home app.
The downsides of Homebridge
Homebridge and HOOBS are fantastic solutions. The software allows otherwise totally unsupported devices to be integrated into HomeKit. There are other bridges available, but these tend to be very brand-specific devices. Using HOOBS, you can use almost any smart device with HomeKit, Amazon Alexa, or Google Assistant. But, it isn’t a perfect solution.
The setup is more involved than native HomeKit compatible devices. Homebridge is also unable to deliver HomeKit Secure Video. This means there is no recording for smart cameras connected to HomeKit via Homebridge. While not a deal-breaker, there are certainly times where cloud recording is desired, so using a native camera or adding an NVR for recording may be preferred.
Getting the setup right for devices is also a bit more complicated. When I was installing the TPLink smart plugin, the HOOBS web interface froze, and I had to unplug my Raspberry Pi to get it unfrozen. Once it was set up, however, I haven’t had any issues. Everything has been working as expected.
There are also security considerations. I am comfortable using the software and the various plugins in my home, but native HomeKit devices are arguably more secure than installing HomeBridge plugins that rely on cloud services.
Is Homebridge the solution for you?

That certainly depends, but if you have myriad apps on your phone all with the dedicated purpose of controlling one of your many smart devices, Homebridge or HOOBS could certainly be a great solution. It allows you to uninstall or move all those apps to the App Library while you use Apple’s Home app or Siri for almost every smart home-related need.
If you’re just a bit tech-savvy, it doesn’t take too long to set up, and you can add way more smart home devices than work natively with HomeKit. And, with each non-compatible device you bring into HomeKit, you can save money over the native options.
Do you have favorite smart home devices? Let us know in the comments down below!
FTC: We use income earning auto affiliate links. More.

Check out 9to5Mac on YouTube for more Apple news: